A good parallel parking technique is not about squeezing into a space at the last second. It is about showing that you can control the car slowly, observe properly and finish safely and reasonably close to the kerb. For many learner drivers, this manoeuvre feels daunting because there is a lot to think about at once. With a clear routine and regular practice, it becomes one of the most manageable parts of driving.
On the driving test, an examiner is looking for safe judgement rather than perfection. You do not need to park in one movement, and you are allowed to correct your position. What matters is that you stay in control, check for other road users and avoid hitting the kerb or finishing too far away from it.
What the examiner wants to see
Parallel parking may be selected as one of the driving test manoeuvres. You will normally be asked to pull up on the left, then reverse into a space behind a parked vehicle. The examiner will assess your control, observations, positioning and response to traffic throughout.
A slight touch of the kerb does not automatically mean a fault, but mounting it can be serious. Finishing a little away from the kerb may be acceptable if the car is safely positioned, but leaving a large gap could cause an obstruction. Equally, a technically neat park is not enough if you reverse without effective all-round observation.
The key is to treat the manoeuvre as real driving. Pedestrians may step out, cyclists may pass on your right and another driver may decide to pull out. Be ready to stop whenever the situation changes.
The parallel parking technique, step by step
Your instructor will help you find reference points that suit the vehicle you are learning in. Those points differ between cars, particularly in modern vehicles with different window shapes, mirrors and seat positions. The sequence below gives you the method behind the reference points, so you understand what the car is doing rather than simply memorising a routine.
1. Choose a sensible space and prepare
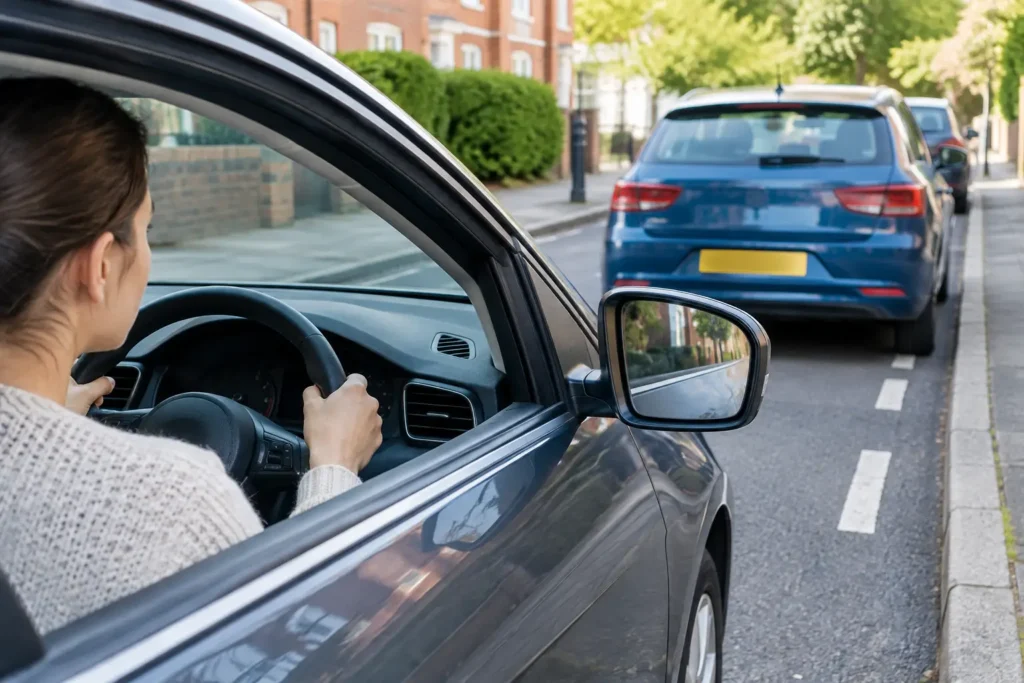
Pull up alongside the vehicle you will reverse behind, leaving a sensible door-width gap. Stop with your car roughly level with the other vehicle, using the position your instructor has shown you. Apply the handbrake if appropriate, select reverse and take a moment to prepare.
Before moving, carry out effective observations. Check both blind spots, your mirrors and the rear windscreen. Look especially carefully over your left shoulder, as that is the direction in which the rear of your car will initially travel. Keep looking around throughout the manoeuvre, not just before it begins.
2. Reverse slowly and create the angle
Release the handbrake and move back at a walking pace using careful clutch control in a manual car, or gentle brake control in an automatic. Slow speed gives you time to observe, steer accurately and stop if someone approaches.
When your first reference point lines up, steer towards the kerb. This brings the rear of the car into the parking space. Do not rush the steering. A smooth, deliberate turn is easier to correct than a sudden full lock applied too late.
As the car starts to angle, continue checking all around. Use the mirrors to monitor the kerb and the parked vehicle, but do not rely on them alone. Your main responsibility is to spot anyone who could be affected by your reversing.
3. Straighten as the car reaches about 45 degrees
At the next reference point, straighten the wheels. Your car should now sit at an angle to the kerb, with enough space from the parked vehicle ahead. This is the stage where learners often either turn too early and finish wide, or turn too late and get too close to the kerb.
There is no need to force the car into a perfect 45-degree angle. The useful question is whether the rear is moving into the space while the front still has room to swing in. If it does, you are in a workable position.
4. Steer away from the kerb to bring the front in
As the rear wheel approaches the kerb, steer away from it. This moves the front of your car into line with the road. Continue reversing very slowly, checking the left mirror for kerb distance and looking around for traffic and pedestrians.
Aim to finish parallel to the kerb, reasonably close without touching it. Once straight, secure the car and select neutral or park as appropriate. If you are on a slope, follow the correct parking procedure your instructor has taught you.
Observation matters more than reference points
Reference points are helpful training tools, but they should never replace observation. A learner can follow every steering instruction perfectly and still make a serious mistake by reversing when a cyclist, pedestrian or vehicle is passing.
Use a steady observation routine: look behind through the rear window, check mirrors, then look around again as the car moves. If a road user approaches closely enough to be affected, pause. Let them pass, check again and continue only when it is safe.
Do not feel pressured by drivers waiting behind you. It is better to take a few extra seconds and complete the manoeuvre safely than hurry because someone is impatient. Calm decision-making is a valuable driving skill long after the test has finished.
Common parallel parking problems and how to correct them
Finishing too far from the kerb usually means you turned towards it too early, or began steering away from it too soon. If there is enough room, pull forward slightly and reverse again with a later turn towards the kerb.
Getting too close to the kerb often means the first turn came too late or was held for too long. Stop before touching the kerb if possible. You may need to move forward, straighten your position and restart the final part of the manoeuvre.
If the front of the car is left sticking out, you probably steered away from the kerb too late. A forward correction can bring the vehicle back in. This is why leaving yourself enough room from the parked car ahead is so useful.
Rushing is another common problem. Learners sometimes lift the clutch too quickly, steer rapidly and then try to fix everything at once. The answer is not more steering. It is slower speed. Good clutch control or brake control gives you the time to make sensible decisions.
Practising in different situations
Start on a quiet, level road with plenty of room and a familiar parked car. Once the basic movements feel comfortable, practise on different roads, beside different types of vehicles and in spaces of varying lengths. This helps you become adaptable rather than dependent on one exact set-up.
You should also practise when the road is busier, but only once you can control the car confidently. The added challenge is managing traffic while staying calm. Your instructor can choose suitable local routes and build the difficulty gradually, tracking your progress as your confidence develops.
Parking sensors and reversing cameras can be useful, particularly after you pass, but do not let them become your only source of information. They may not detect every hazard, and the driving test still requires you to use effective observation. Treat technology as additional help, not a substitute for looking.
Build confidence before your test
The best way to improve is through structured, one-to-one practice with clear feedback. A qualified instructor can identify whether your difficulty is steering timing, vehicle control, observations or nerves, then adapt the lesson to suit you. At English School of Motoring, lessons are designed to build safe driving for life, not simply teach a routine for test day.
If parallel parking feels difficult now, that is normal. Ask to repeat it in short sections, then join the sections together once each movement makes sense. A calm, controlled correction is always better than hoping the car will somehow end up in the right place.